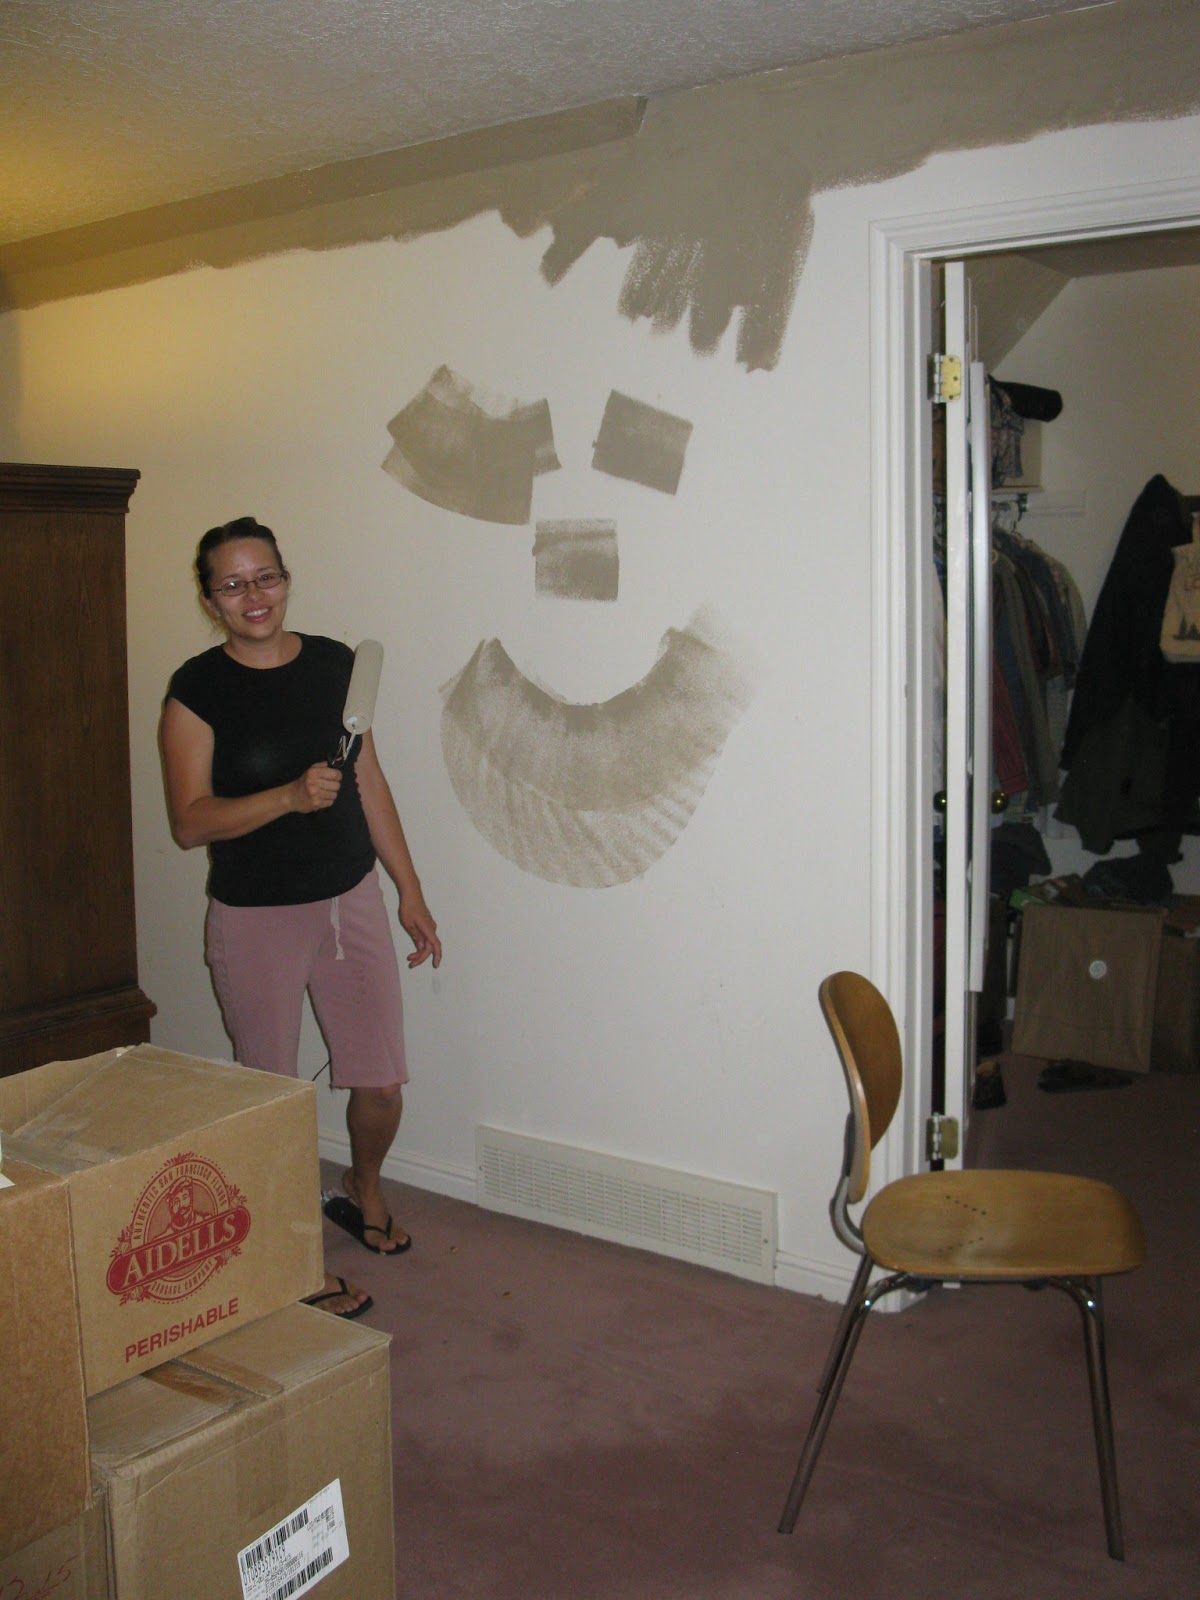
Here is the "before" picture of the master bedroom:

Okay, fine. Here is the predominant "before" picture, which will either make you feel good about yourself for being normal (don't tell me your room has never become the dumping ground of the house), or feel really good about yourself for never having such a mess:

First dramatic change: Goodbye white walls and pink carpet. Tip: It's always faster and way more fun to sucker your unwitting friends into helping you than to paint alone.

In an effort to be friendly to the environment, I decided to re-purpose as many elements of the room as possible. Actually, that's not completely true. My real motivation was to re-do this room "on the cheap". I had given myself a $200-ish budget, which I blew pretty quickly on the carpet. The original plan was to paint the sub-floor white and buy carpet down the road. But once we tore up the carpet, the echo was awful, so we bought new carpet and scrimped on other things for several months. I also received an anonymous gift of cash, which gave me the courage to get this project under way. (Thank you generous person!) And just look at all the almost-free updates we made.
My meditation space:
We have a little alcove in the room that I've always wanted to use for morning scripture study, yoga, and meditation. That's tricky when you're married to a non-early riser who doesn't enjoy the sunrise. Here is what I started with:

And here are the improvements:


My neighbors might recognize that wood. It came from a house kitty-corner from ours where they replaced their worn-out cedar fencing with a much more interesting fence. I saved their old fencing from the dump and made it much more interesting, too. After cleaning it with a stiff brush and spraying with bleach to kill any mold in the wood, I gave some of the pieces a blue color wash, sanded the peaks off the wood grain, finished with a clear coat of polycrylic, and voila...a new floor.
 |
| Please excuse the saw and paint cans. Like I said, there are always other projects under way. |


Gotta' say, I think Ikea's curtain track system is brilliant! The triple track lets me layer the curtains in multiple ways depending on my mood.

I wanted to bring in some natural elements, so I re-purposed this branch that I had pruned off my locust tree in the winter. It is suspended about nine inches from the ceiling using clear nylon string anchored by white finishing nails. I hung some sweet little wooden bird cut outs from the branches, and this easy piece of art was done.
The finished alcove:


Well, almost finished. I'm still deciding if I want furniture in here, or just a yoga mat. It would be nice to keep the bookcase for my gardening magazines. I may put it on wheels so I can move it to the window and use the top surface to hold seed sprouting trays in the spring. I'll probably add artwork to the wall too.
The dressers you've already seen on my Part 1 post, so I'll skip ahead to the real work: the bed.
We got rid of the bookcases that used to look like sentinels in the alcove, so I was looking for ways to bring storage space to the new room. When I saw these kitchen cabinets on the curb near my kids' school with a sign advertising a good price--FREE--I knew just what to do.


All they needed was some cleaning, wood putty, sanding, priming, painting, new hardware, and they make a great headboard. Oh yeah, throw on a recycled bi-fold closet door, a big piece of mdf covered in linen fabric (curtains from Ikea that I cut to fit), and moulding to trim the piece. Sound simple enough? It wasn't!


After glue sticks, staple guns are a girl's best friend.
It was so much cheaper to cut up curtains than to buy a bolt of fabric.


I needed a bed base, so I put my neighbor's old fence, and another neighbor's rotted porch post (more on that below) to use.

The bed frame is cedar fence posts stacked two high and braced with 2x4s. We had to sink our 1/4 x 6" wood screws into the wood for a flat surface where the bed's foundation would rest, so we used a half-inch drill bit for the head of the screw and the 1/4" bit for the hole going through both posts.


You can see how rough/rotted the post ends were, but that unsightliness is easily hidden by craft wood used as trim. We have a Select Comfort bed, which has a plastic foundation rather than a traditional box spring. To get a clean look without a dust ruffle covering up the wooden bed frame, Kent and I ran more of the linen curtain fabric around the three sides of the bed foundation that show. We used some highly specialized parts to attach the fabric to the plastic: adhesive Velcro with safety pins on the corners. It's not perfect, but no one looks closely at the bed foundation anyway.
I really wanted curtains around the bed. When the ceiling fan prevented me from building posts at the corners, I came up with something else. I noticed that some other neighbors had replaced their porch posts, and better yet, I noticed their rotted porch posts leaning against their house. They gave me six posts, and I went to work.

After much cleaning, sanding, cutting, puttying, and painting, I had some rails to hold the curtain tracks. Here's how they turned out.

It took a few weeks of deliberating to figure out how to attach these posts to the ceiling. I found these awesome drywall anchors at Lowe's. They each can hold over 200 lbs. We sunk holes in the posts in the same way we attached long screws in the bed base, adding a metal washer to catch the head of the anchor bolt. Once the posts were up, I painted some stickers and just covered up the holes.

I bought craft boards and cut them to work as trim to hide the joints of the posts.


I attached a single track curtain system from Ikea. (Again, I have to say I love this curtain system.)


I got the "curtains" from Ikea, too. They are the $4 twin-size white sheets. When I opened the package, serendipity revealed that Ikea hems the entire perimeter with a half-inch seam, so I didn't even have to pick out the top cuff that is usually on sheets. I know...messy bed in the photo; but I couldn't reveal the made bed until I tell you about the bedding. And this picture gives a feel for the "tent" that the kids like to play in by drawing curtain all around. It's quite fun.

By this point of the project, I was pretty picky about what bed linens I wanted. I bought white Egyptian sheets when they were on sale at ShopKo. (By the way, every time I go into ShopKo, I am pleasantly surprised at their prices and the quality on most home goods, and I find myself wondering why I don't go there more often. Last week I went in for some packing tape and left with over $100 of storage containers, baskets, and more to organize my home.)
I really wanted a white goose down comforter, but I wasn't willing to fork over half of my original budget just for that item. Luckily, DI (the local thrift store) saved me:

Take a look at that price tag!!! I nabbed the comforter right as another lady was headed toward it. The ugly olive green-and-purple quilt hanging next to this goose-down comforter was marked at $75, so I wasn't sure I would actually get this for $12--but you can see that I did! The comforter smelled a bit like a hospital, and it looked brand new, so I'm guessing some elderly patient may have died under it. But with a $3 wash in the oversized machine at the local laundromat, it worked out to be a great deal. (Yes, I read up on how to wash down. Do a Google search before you throw your comforter in your own washing machine, because feathers get special treatment.) I had found a furry white blanket at TJ Maxx, and a
The final pieces were the pillows. After finding a $7 body pillow at Target, I was convinced that I should just make my own cases. Following instructions that I found on the internet for sewing French seams, I made two standard pillow cases and one large case for the body pillow. I purchased most of the material, but was able to incorporate some grosgrain ribbon that had tied a pack of two throw pillows together.


I wanted one more decorative pillow and ended up making a button-up case for a $17 Ikea down pillow. The pillow is reversible so my bedding can change with my mood: sweet with a bird, or more adult damask. I was hoping to get a little bird embroidered on the throw pillow, but when I couldn't figure out how to do that inexpensively, I just painted a design on the off-white fabric using acrylic paints.


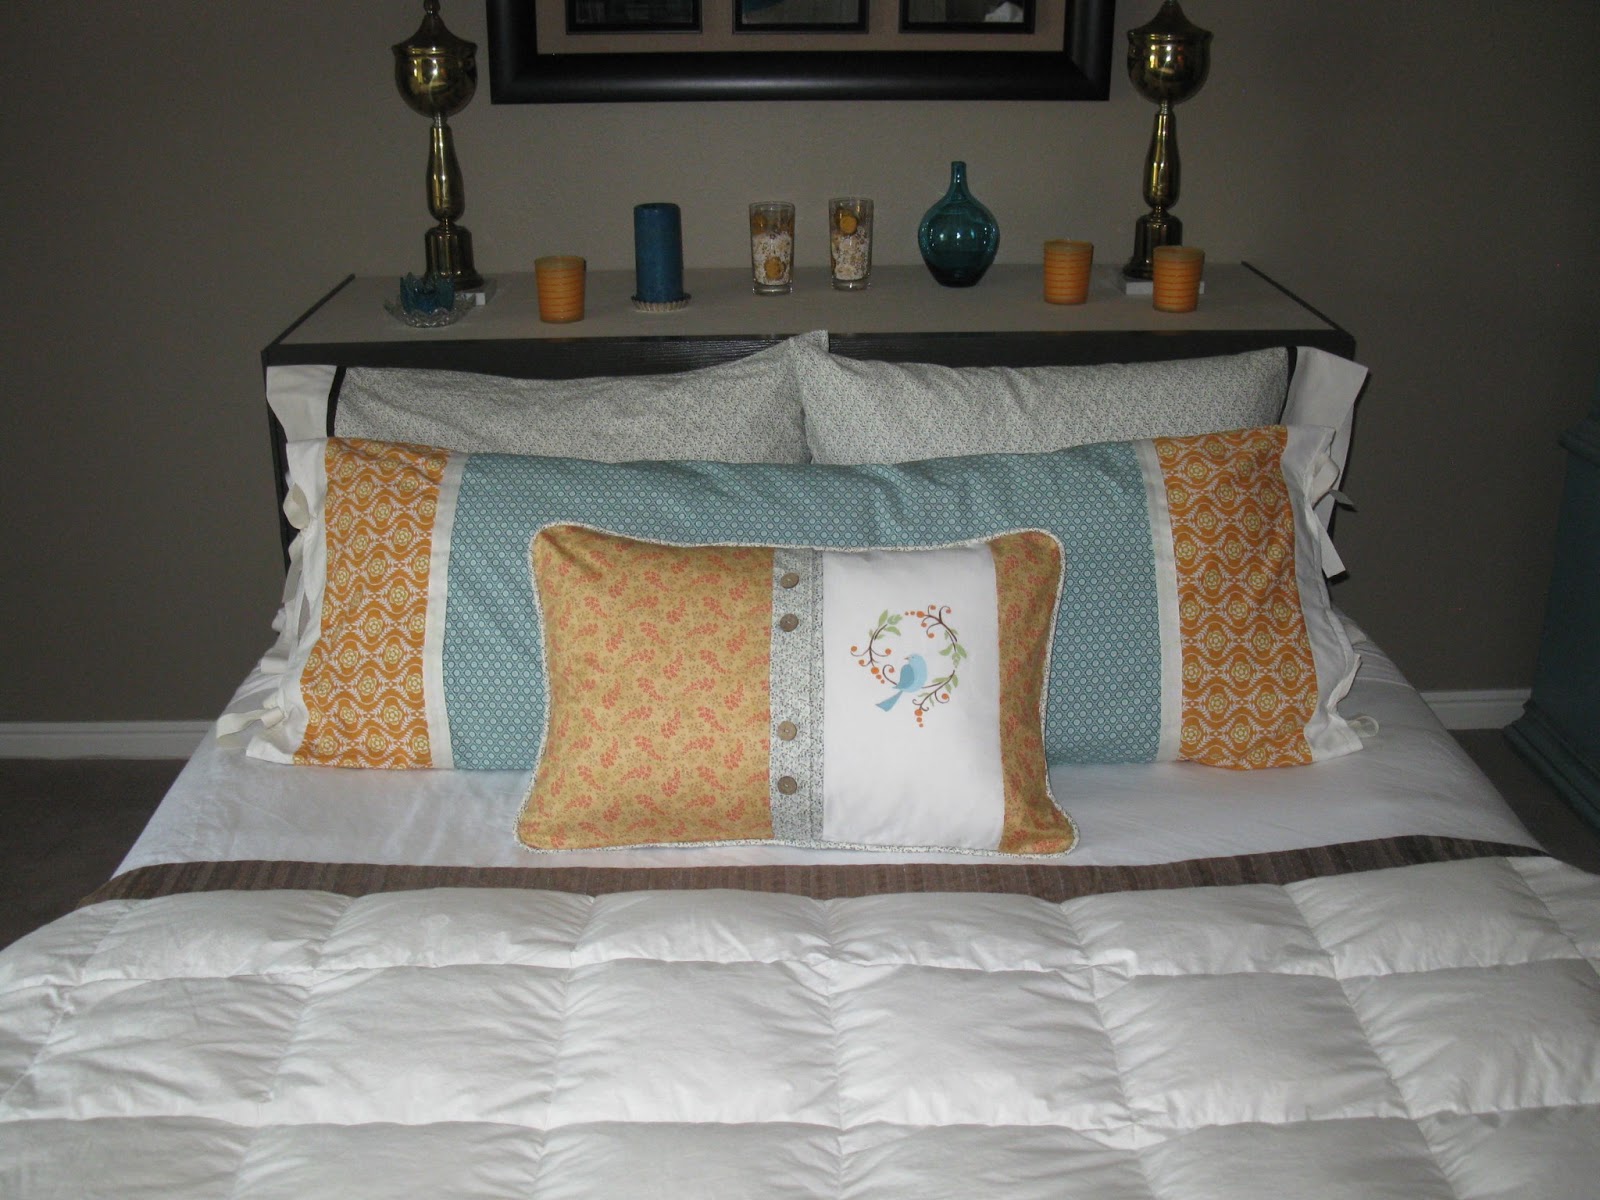
The bed came together quite nicely, if you ask me.


That's it for now. Next time I'll show photos of all the free furniture I rescued from going to the thrift store and give an idea of how the eclectic pieces all work together. Yes, I really was able to incorporate a tuba, a retro record player, a striped rug, a broken painting, a treasure chest, and dried allium all in one room. So check back...I hope to have it posted by Halloween!
6 comments:
You are amazing.
Wow that is a crazy ton of work!
So fantastic!! I wish I had both your eye for design and all your energy for getting these kind of projects done.
So fantastic! I wish I had both your eye for design and your energy for getting these sorts of projects under way AND completed. Well done!
Amazing work and lovely post! I was wondering do you recall where you purchased the blue insulated curtains from?
Thanks for the compliment! I found those curtains at Shopko. I've also purchased similar curtains for the family room from JC Penney online catalog.
Post a Comment